Photography doesn’t have to be a guessing game. Once you understand how aperture, shutter speed, and ISO work together — known as the exposure triangle — you’ll gain full control of your camera and stop relying on Auto mode.
The exposure triangle is the foundation of photography. It explains how aperture, shutter speed, and ISO work together to create the perfect exposure. Once you understand the exposure triangle, you can dive deeper into topics like aperture, shutter speed, and ISO.
In this post, we’ll break down each part of the triangle, how they affect your photo, and how to balance them for the perfect shot.
What Is the Exposure Triangle?
Each side of the triangle represents one of the three key settings that determine how much light reaches your camera’s sensor.
- Aperture – Controls how much light passes through the lens opening and affects depth of field—how much of your image appears sharp from front to back.
➜ Learn more about aperture and depth of field - Shutter Speed – Controls how long the shutter stays open. A faster shutter freezes motion; a slower one allows blur for creative effect.
➜ Learn more about shutter speed - ISO – Controls your camera sensor’s sensitivity to light. Raising ISO brightens the image but can add noise or grain.
➜ Learn more about ISO and camera sensitivity
When you adjust one corner of the triangle, the others must often change to maintain proper exposure.
1. Aperture – Controlling Depth of Field
Aperture is the size of the opening in your lens, measured in f-stops (like f/2.8, f/5.6, or f/11).
A lower f-number means a wider opening, which lets in more light.
How it affects your photo:
- Wide aperture (f/1.8, f/2.8): Brighter image, shallow depth of field, soft blurry background (great for portraits).
- Narrow aperture (f/8, f/16): Darker image, deep depth of field, more of the scene in focus (great for landscapes).
Quick tip:
If you ever see “bokeh” in photos, that’s a result of a wide aperture.
2. Shutter Speed – Freezing or Blurring Motion
Shutter speed controls how long your camera’s sensor is exposed to light, measured in fractions of a second (like 1/500, 1/60, or 1″).
How it affects your photo:
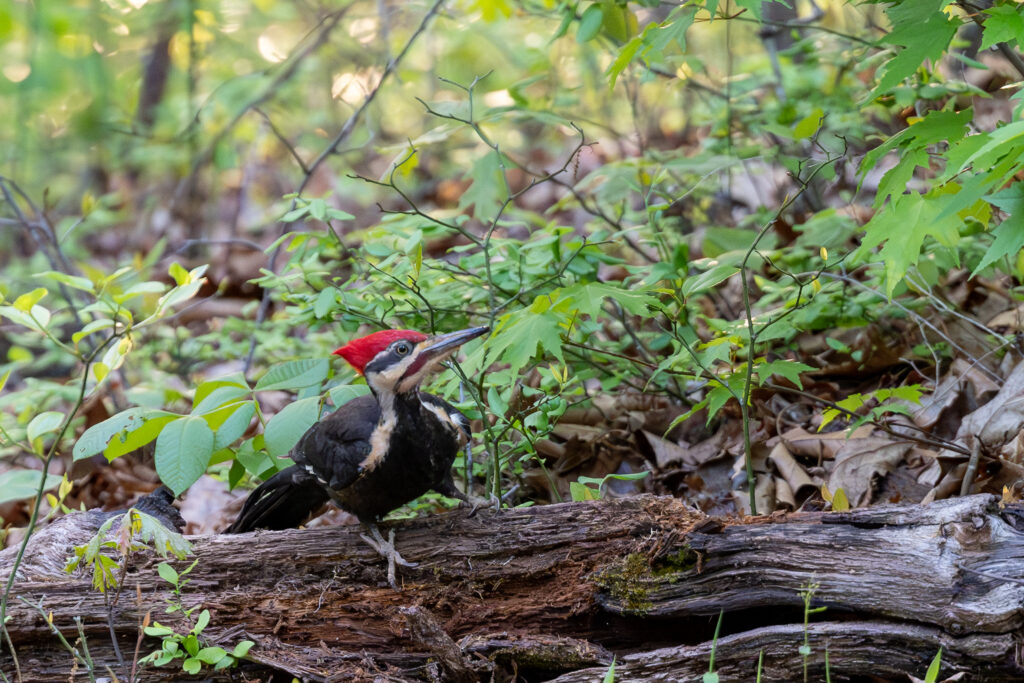
- Fast shutter (1/1000, 1/500): Freezes action (ideal for wildlife or sports).
- Slow shutter (1/30, 1”, or longer): Creates motion blur or light trails (great for waterfalls or night photography).
Quick tip:
When shooting handheld, use a shutter speed at least equal to your focal length (for example, 1/100 sec for a 100mm lens) to avoid blur from camera shake.
3. ISO – Brightness and Image Noise
ISO controls your camera’s light sensitivity. A lower ISO gives a cleaner image but requires more light.
How it affects your photo:
- Low ISO (100–400): Clean, detailed images (use in daylight).
- High ISO (1600–6400+): Brighter in dark scenes, but adds grain/noise.
Quick tip:
Always start with your ISO low and raise it only if you can’t get enough light through aperture and shutter speed.
Balancing the Triangle
These three settings are connected — changing one affects the others.
For example:
- Widening your aperture makes the image brighter, so you might need a faster shutter or lower ISO.
- Slowing your shutter speed lets in more light but risks blur, so you may need to close the aperture or lower ISO.
Finding balance is the key to proper exposure.
Here’s a quick example:
You’re photographing a waterfall and want that silky motion effect.
You slow your shutter speed to 1/4 second — but now the image is too bright.
To fix this, you narrow your aperture to f/16 and keep ISO at 100.
The result? Perfect exposure with smooth water motion.
Visualizing the Exposure Triangle

Putting It All Together
Once you understand how to balance these settings, you can:
- Capture sharp action shots
- Create dreamy blurred backgrounds
- Handle tricky lighting conditions without flash
- And most importantly — shoot in Manual mode with confidence
Practice Exercise
Try this simple test:
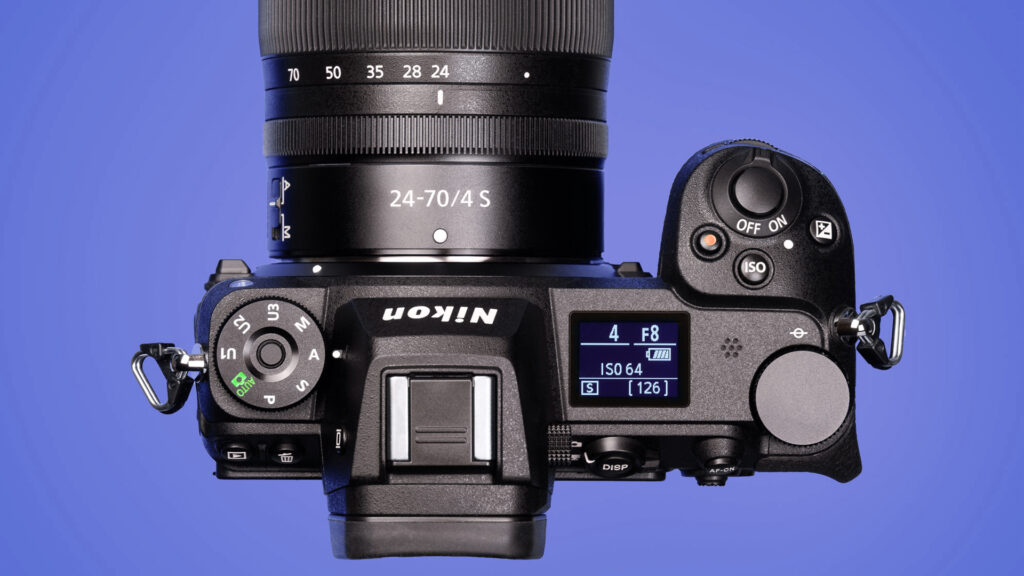
- Set your camera to Aperture Priority (A or Av).
- Choose a wide aperture (like f/2.8).
- Take a photo, then switch to f/8 and take another.
Compare how much more is in focus in the second photo.
Learning by experimenting is the fastest way to master the triangle.
Final Thoughts
The exposure triangle is the foundation of photography. Once you master it, every other skill — composition, lighting, post-processing — becomes easier.
In upcoming posts, I’ll dive deeper into each side of the triangle, including practical examples and how they apply to real shooting situations.
If you’re new to photography, bookmark this page. You’ll see this concept come up again and again.
Related Reading
Explore each part of the triangle in more depth:
- Understanding Aperture and Depth of Field
- Understanding Shutter Speed
- ISO: Understanding Camera Sensitivity
Additional Help – Nikon’s Guide to Exposure