Every photographer faces this question early on – should you shoot in RAW or JPEG? The answer can shape everything from how your images look to how much control you have during editing. In this post, we’ll break down the difference between RAW vs JPEG photography, explain how each affects image quality, and help you decide which format best fits your goals.
Whether you’re shooting landscapes, architecture, or wildlife, understanding the difference between RAW vs JPEG photography is one of the most important steps toward mastering your camera.
What is RAW vs JPEG in Photography?
When you press the shutter, your camera’s sensor records light and color information. What happens next depends on which format you’ve chosen.
A RAW file is an unprocessed digital negative. It contains all the data captured by the sensor – full color depth, dynamic range, and fine detail. RAW files are large, uncompressed, and require post-processing software like Adobe Lightroom or Capture One to edit.
A JPEG file, on the other hand, is processed in-camera. The camera applies contrast, sharpening, color adjustments, and compression before saving it as a ready-to-use image. JPEGs are smaller in size and look finished straight out of the camera, but much of the original data is permanently discarded.
Think of it this way:
- RAW is like having a full pantry of ingredients to make your own meal.
- JPEG is like ordering a meal that’s already cooked – faster, but you can’t change the recipe later.
Advantages of Shooting in RAW
Shooting in RAW gives photographers the maximum creative control over their images. Here’s why professionals and serious enthusiasts prefer it:
1. Greater Editing Flexibility
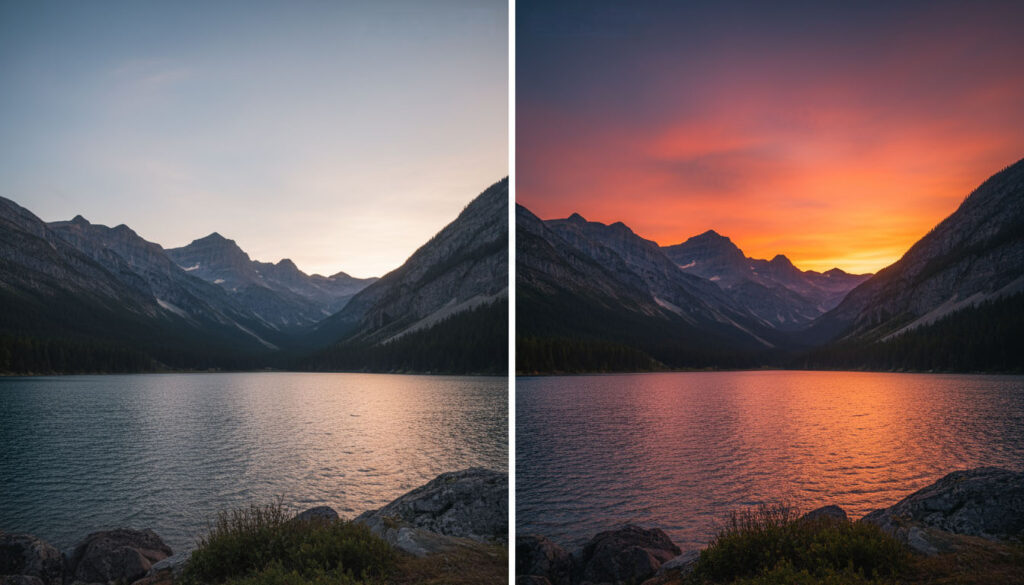
RAW files retain every detail captured by your sensor, allowing you to recover highlights, lift shadows, and fine-tune white balance without ruining image quality. When editing a RAW file, you’re not degrading the original data – you’re just adjusting how it’s displayed.
2. Higher Image Quality
Because RAW files aren’t compressed, they maintain full tonal range and color information. You’ll notice smoother gradients in skies, cleaner shadows, and richer detail when printing or exporting to high-resolution platforms like Adobe Stock.
3. Non-Destructive Workflow
Editing RAW files is completely reversible. Your adjustments are stored as metadata, meaning you can always return to the untouched original. This is ideal for photographers who revisit older images as their editing skills improve.
4. Better White Balance and Color Control
If you shoot under mixed or tricky lighting (like fluorescent or golden hour), RAW gives you the flexibility to fix white balance later. JPEG locks it in at capture, making major corrections difficult without causing color shifts.

When JPEG Still Makes Sense
While RAW offers clear advantages, there are times when JPEG is more practical.
1. Speed and Storage
JPEGs are small and ready to use. If you’re shooting long events or high-speed bursts (like wildlife or sports), you’ll save both card space and processing time.
2. Quick Sharing
If you’re covering casual travel, family events, or behind-the-scenes moments, JPEG files are immediately shareable. Many cameras can even send JPEGs straight to your phone or social media.
3. Simplicity for Beginners
If you’re just learning exposure and composition, JPEG can reduce the learning curve. The camera applies color and tone automatically, so you can focus on fundamentals before diving into post-processing.
How to Shoot in RAW or JPEG
Most modern cameras allow you to choose between RAW, JPEG, or both (RAW+JPEG).
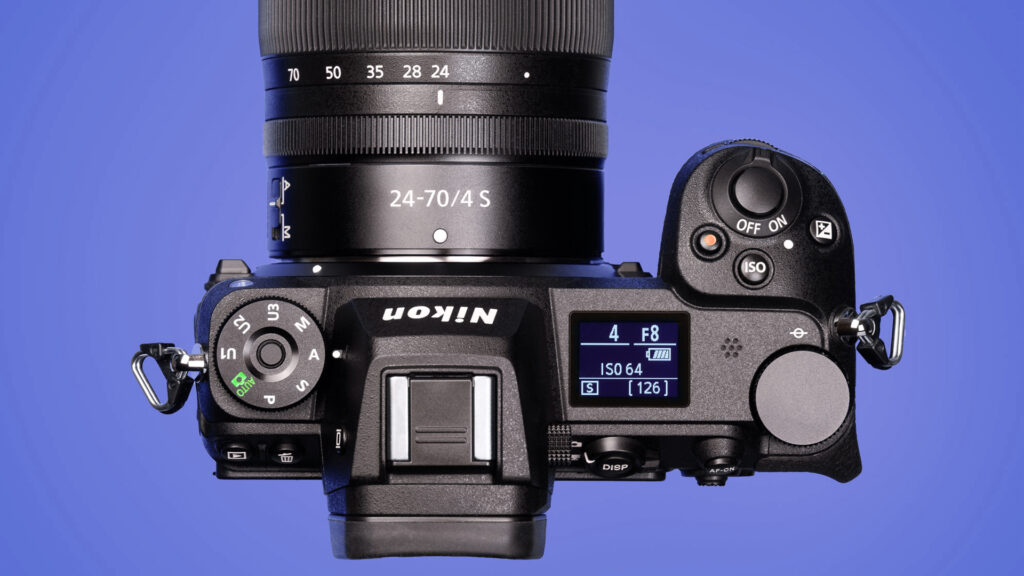
- On a Nikon Z or DSLR, open your Photo Shooting Menu → Image Quality → Select RAW, JPEG, or RAW+JPEG.
- If you use Lightroom or Adobe Camera Raw, import the RAW files directly – the program will handle color profiles and adjustments automatically.
- Shooting RAW+JPEG can be useful for transitional workflows: you get quick JPEG previews and full RAW flexibility later.
Editing RAW Files
Editing RAW images requires specialized software that can interpret the sensor data.
Popular choices include:
- Adobe Lightroom Classic – industry standard for batch processing and catalog organization.
- Capture One – favored by professionals for color accuracy.
- ON1 Photo RAW or Darktable – solid alternatives for photographers who want to avoid subscriptions.
You can learn more about RAW editing basics at Adobe’s official RAW photo workflow guide.
Common Mistakes When Switching to RAW
- Not converting before sharing – RAW files aren’t viewable on most devices until exported as JPEG or TIFF.
- Underestimating storage needs – RAW files are 2–5× larger than JPEGs; invest in fast SD or CFexpress cards.
- Skipping backups – since editing doesn’t overwrite originals, always back up your RAW library.
- Expecting RAW to “fix” bad shots – RAW gives flexibility, not magic. Proper exposure still matters.
RAW vs JPEG: Which Should You Choose?
If your goal is maximum image quality, professional editing control, and long-term flexibility, shoot in RAW. It’s ideal for landscapes, architecture, wildlife, and any work you plan to print or sell.
If you prioritize convenience, smaller file sizes, or quick turnaround – JPEG still has its place. Many photographers use both, depending on the project.
For example, at True North Photography, RAW is used for courthouse architecture and landscapes (where editing flexibility is key), while JPEG might be used for simple travel or scouting photos.
Understanding RAW vs JPEG photography helps you make smarter choices before every shoot. RAW offers ultimate control and quality, while JPEG offers speed and simplicity. The best photographers know when to use each one – and often, they use both strategically.
To continue learning about exposure and image control, check out our guides below.