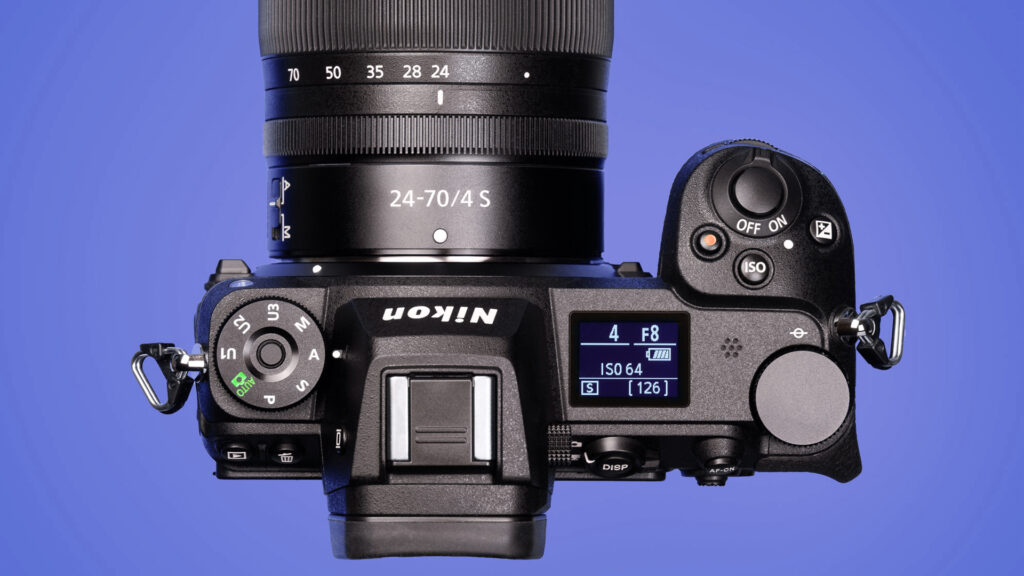
Scouting locations is one of those habits that separates casual snapshots from intentional photography. When you know how to find the right spots and plan your shots ahead of time, everything becomes easier. Your compositions improve, you waste less time wandering around, and you can work with the light instead of fighting it. In this guide, I will walk you through the same steps I use when scouting Michigan courthouses, landscapes, and small towns. Location scouting photography is a skill that anyone can learn, and once you start using it, you will never see a place the same way again.
What Location Scouting Really Means
At its core, location scouting photography is about learning a place before you start shooting. That might mean visiting in person, checking it on a map, or simply paying attention as you drive through a town. The goal is to understand the layout, light direction, obstacles, and unique features so you can capture the strongest images possible.
When I travel to new towns for courthouse photos, I never pull the camera out immediately. I walk around first, check all four sides, look for the best foregrounds, and consider how the sun will hit the building at different hours. That quick walk often saves me a lot of time because I know exactly where to stand once the light is right.
Good scouting helps you:
• Find your best angles
• Avoid unwanted clutter
• Plan for sunrise or sunset
• Identify seasonal or weather based opportunities
• Spot hidden views other photographers miss
It is part planning and part curiosity, but it pays off every time.
How to Scout a Location Before You Arrive

1. Start With Online Tools
A little research can help you understand a place long before you get there.
• Google Maps helps you see roads, parking, sidewalks, and general layout.
• Street View allows you to preview angles and look for tall trees, traffic lights, or signs that might block a shot.
• Sunrise and Sunset Planners like PhotoPills or the free SunCalc show where the sun will be at any time of day.
• Local tourism or city websites often share photos that reveal lesser known viewpoints.
Even quick research gives you a huge head start. When I photograph architecture, I always check where the light will fall first. Some courthouses glow in warm morning sun, while others look better in the afternoon.
2. Look for Easy Access
You do not want to spend half your time circling the block. When scouting online, look for:
• Parking
• Sidewalks or plazas
• Safe places to stand
• Areas with low foot traffic
Good access makes the actual shoot smoother.
3. Study the Sun Direction
The angle of the sun matters more than most people think. Backlit buildings can look muddy, and flat midday light can drain the scene of detail. By checking sun direction ahead of time, you can plan the ideal shooting window.
This simple habit often makes the difference between an average shot and one that pops.
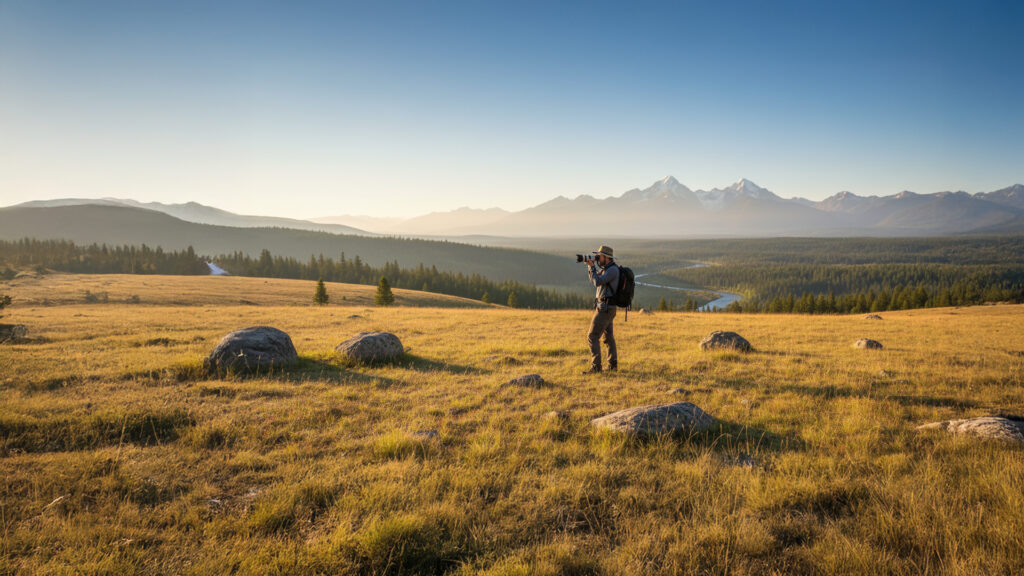
How to Scout a Location Once You Are There
1. Walk the Area First
Before setting up your tripod or pulling out your camera, walk the area at least once.
I always make a full loop around a building. Each side tells a different story. One side might have clean lines and open sky, while another might be cluttered with parked cars. Scouting helps you avoid surprises.
As you walk, look for:
• Leading lines like sidewalks or fences
• Open views without tree branches
• Foregrounds that add depth
• Reflections in windows or puddles
• Symmetry or repeating patterns
This is where scouting starts to feel like a treasure hunt.
2. Look for Unique Angles
Try high, low, left, right, and everything between. Sometimes the best viewpoint is only a few feet away from where everyone else stands.
If you are photographing architecture, small shifts can eliminate distractions or strengthen symmetry. For landscapes, shifting your position can shape how hills, trees, or water interact in the frame.
You are not only finding a place to stand. You are finding the story you want to tell.
3. Take Reference Photos
Use your phone to take quick scouting shots. They help you remember angles, compare ideas, and plan timing. I often take photos in the morning even if I plan to shoot at sunset. Later, I can look back and decide which angle will work best once the light shifts.
4. Check the Foreground and Background
Strong photos usually have clean foregrounds and backgrounds. Scouting helps you see things you might not notice during a rushed shoot.
Look for:
• Power lines
• Poles or signs
• Shadows from nearby trees
• Busy traffic
• Trash on the ground
• Reflections you do or do not want
Most of these are easy to avoid if you know about them ahead of time.
Planning for Light and Weather
1. Visit During Different Times of Day
If you have the time, visit the location more than once. Morning, afternoon, and sunset can all produce completely different photos.
I have visited some Michigan courthouses three or four times before settling on the perfect angle. The light changes everything.
2. Consider the Weather
Weather affects location scouting photography more than many beginners realize.
• Overcast skies soften shadows
• Rain adds reflections
• Fog creates atmosphere
• Snow brightens the scene
• Clear skies give strong sunlight
Sometimes the best conditions are not the obvious ones. That early snowfall you photographed recently is a perfect example. Weather that seems inconvenient can become a creative opportunity.
Common Scouting Mistakes to Avoid
1. Rushing the Process
Many photographers arrive, take a few shots, and leave. Slow down. The first angle is rarely the best.
2. Ignoring the Sun
Light direction matters. If you do not check it, you may end up fighting shadows or glare.
3. Not Taking Notes
Notes help you plan future returns. Write down times, angles, and anything worth remembering.
4. Forgetting About Foreground
Great locations can still produce flat photos if you ignore the area in front of your subject.
A Simple Scouting Checklist You Can Use Anywhere
• Where can I safely stand
• Where is the sun at my planned time
• What foreground elements can add depth
• What angles look clean and balanced
• What distractions need to be avoided
• What weather conditions would improve the shot
• Where is the best parking and access point
Use this list the next time you go out. After a few outings, it will become automatic.
Conclusion
Location scouting photography is one of the easiest ways to improve your photography without buying new gear. Once you start paying attention to light, angles, backgrounds, and access, your images strengthen instantly. Whether you are photographing small town architecture, wide landscapes, or anything in between, good scouting lets you work with the environment instead of fighting it.
If you want to keep building your skills, explore my guides on the Photography Editing Workflow and how to understand the Exposure Triangle. For more advanced tools, the lighting planners at PhotoPills are an excellent resource for outdoor shooting.
With a little planning and curiosity, every location becomes a chance for a stronger photo.