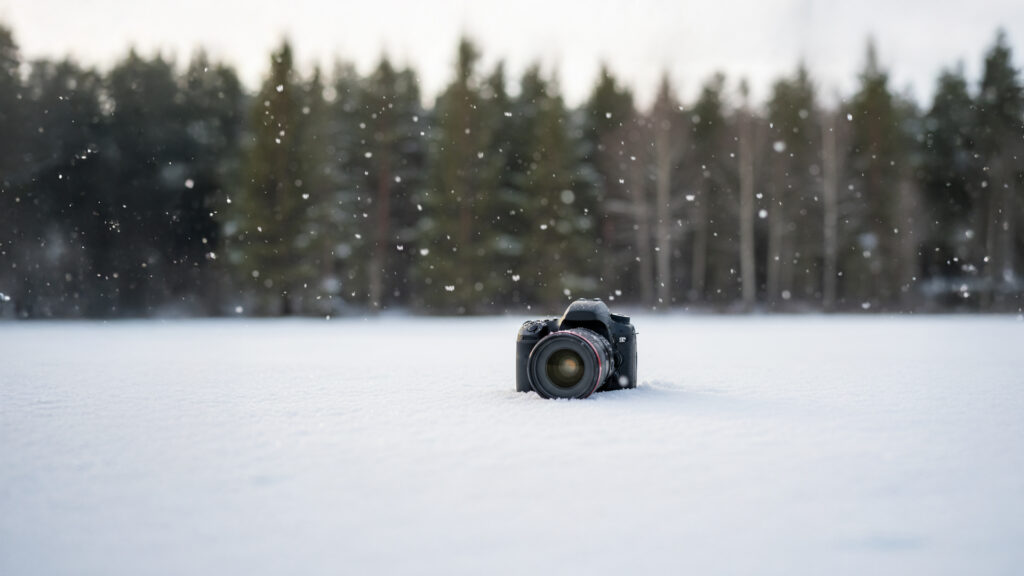
Snow can make even an ordinary scene look magical, but it is also one of the hardest conditions to photograph. Bright white snow throws off your camera’s meter, cold air drains your batteries, and changing light can make a perfect shot disappear fast. In this guide, I’ll walk you through the best camera settings for snowy winter photography and show you how to capture crisp, bright, and colorful images without losing detail in the whites. You’ll learn how exposure works in snow, what to do when your photos look gray, and how to get sharp results even when light is fading. By the end, you’ll be ready to step into winter with confidence.
What Makes Snow Hard to Photograph
Snow challenges your camera in a few ways:
1. Snow Reflects a Lot of Light
Your camera meter sees all that brightness and assumes the scene is too bright, so it tries to make it darker. That is why snowy photos often look gray or dull. This is normal, but easy to fix.
2. Cold Weather Slows Batteries
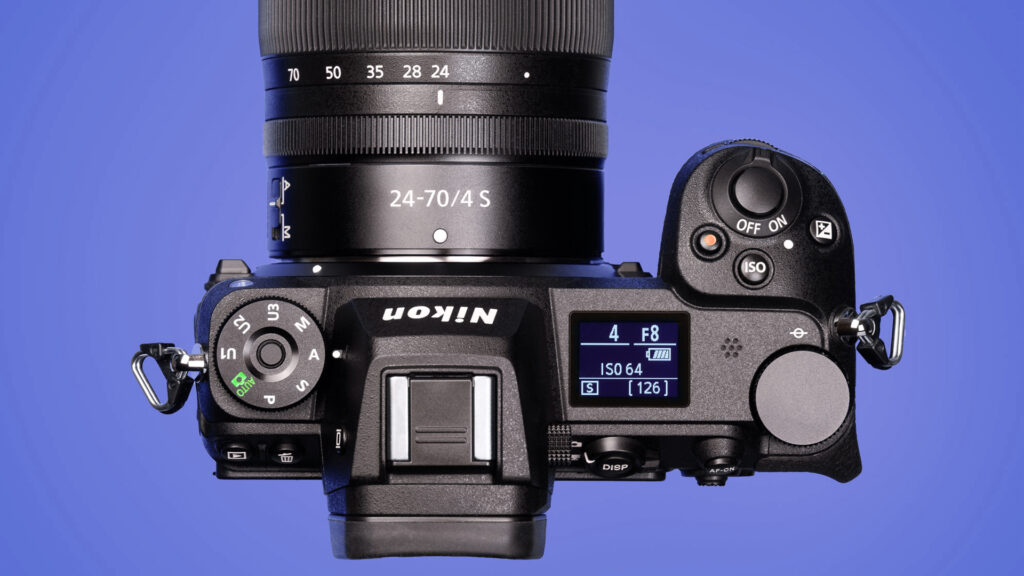
Cold temperatures make batteries lose power faster. If you shoot with mirrorless cameras like the Nikon Z7ii or Z6ii, you will notice this right away. Keep extras in a warm pocket.
3. Snow Makes Autofocus Hunt
Snowflakes falling between you and your subject can confuse autofocus. Your camera may try to lock onto the flakes instead of the actual scene.
4. White Balance Can Shift Blue
Winter light is cool. Snow can look blue or dull unless you correct it in camera or edit it later.
These challenges can be handled with the right settings, so let’s break them down one at a time.
The Best Camera Settings for Snowy Winter Photography

Exposure Mode: Shoot in Aperture Priority
Aperture Priority gives you control over depth of field and lets the camera handle the shutter speed. It is the simplest way to maintain sharpness without constant adjustments. Use something like f4 for portraits, f5.6 to f8 for landscapes, or wider if you’re shooting with a fast lens.
Exposure Compensation: +0.7 to +1.3
This is the most important winter adjustment.
Snow fools the meter and makes photos darker. Adding plus exposure compensation tells your camera to brighten the image back to where it should be.
Use these ranges:
- Lightly snowy scene: +0.3 to +0.7
- Full snow on the ground: +0.7 to +1.0
- Bright fresh snow in sunlight: +1.0 to +1.3
Check your histogram. Aim for a balanced shape without clipping the far right.
If you need a refresher on exposure, your Exposure Triangle guide at:
https://truenorthphoto.net/exposure-triangle
is a great reference.
ISO: Keep It Low But Don’t Fear Raising It
Winter often means low light. Keep ISO around 100 to 400 in daylight, but don’t be afraid to raise it when needed.
Example:
- Cloudy day in Michigan: ISO 320 to 640
- Sunset or dark forest scenes: ISO 800 to 1600
Noise today is much easier to fix in Lightroom than a blurry photo from too slow a shutter speed. Your editing workflow guide at:
https://truenorthphoto.net/photo-editing-workflow covers noise reduction if you need it.
Shutter Speed: Keep It Above 1 over focal length
If you’re shooting handheld in the cold, keep shutter speed fast enough for sharp images.
A simple rule:
- 1 over your focal length or faster
Example: At 70 mm, shoot at 1 over 70 sec or faster (like 1 over 100 sec).
If wind is blowing snow around, go faster.
White Balance: Use Cloudy or Auto
Snow can turn blue, especially in shade or late afternoon.
Two options work best:
- Cloudy WB for warmer snow
- Auto WB with RAW files so you can fix it later
If you prefer color consistency, shoot a gray card in the snow once and use it as a reference.
AF Mode: Use Single Point or Wide Small
This helps prevent the camera from locking onto snowflakes.
Avoid wide area full-auto in falling snow since it tends to hunt.
Metering Mode: Matrix Metering
Matrix (or Evaluative) metering is perfect for snowy scenes. Spot metering can swing wildly if you accidentally meter a bright patch of snow.
Practical Tips for Better Snow Photos
1. Shoot Early and Late
Winter light is naturally soft, but sunrise and sunset give warm tones that contrast beautifully with cool snow. Plus, fresh snow looks best before footprints and tire tracks ruin it.
2. Protect Your Gear
Cold moisture can fog lenses when you return indoors. Before going inside, seal your camera in a zip style bag so condensation forms on the outside of the bag, not your gear.
3. Bring Extra Batteries
Keep spares in a warm pocket. Swap them as soon as performance drops. A two battery rotation works great.
4. Use a Polarizer
A circular polarizer helps reduce glare and brings out sky color. It also deepens the contrast in snowy landscapes.
5. Keep a Lens Cloth Handy
Snowflakes melt like raindrops once they hit your lens. Carry a dry microfiber cloth to wipe the glass often.
6. Consider a Slight Underexposure for Details
If you’re shooting very detailed snow patterns like frost or ice crystals, a tiny bit of underexposure preserves texture. Later you can brighten the image without losing detail.
7. Shoot RAW
RAW files help with white balance, exposure adjustments, and color accuracy. Winter photos often need subtle adjustments, and RAW gives you that flexibility.
Common Mistakes To Avoid
Mistake 1: Leaving Exposure at Zero
Zero exposure compensation is the fastest way to get gray snow. Always check your histogram and keep your highlights bright.
Mistake 2: Using Too Slow of a Shutter Speed
Handheld winter photos need fast shutter speeds. Cold hands plus wind equals blur.
Mistake 3: Forgetting About Backgrounds
Snow scenes can make clutter stand out. Watch for street signs, trash bins, and cars in the frame.
Mistake 4: Relying on AWB for Everything
Auto white balance works well, but snowy scenes often need a touch of warming.
Mistake 5: Keeping the Same Settings for All Winter Scenes
Snow varies a lot by time of day, cloud cover, and type of snowfall. Check settings often.
Snowy winter photography is one of the most rewarding types of photography once you learn how to handle the bright conditions. With the right exposure compensation, dependable shutter speeds, and a careful eye on white balance, you can create crisp, colorful images that show the beauty of winter. Whether you’re photographing a snowy courthouse, a winter forest, or fresh lake effect snowfall, these settings will help you get consistent results. If you want to take your editing further, check out your editing workflow guide at https://truenorthphoto.net/photo-editing-workflow for noise reduction, color correction, and sharpening tips. Winter does not need to be difficult. With a little preparation, you’ll come back with some of your favorite photos of the season.