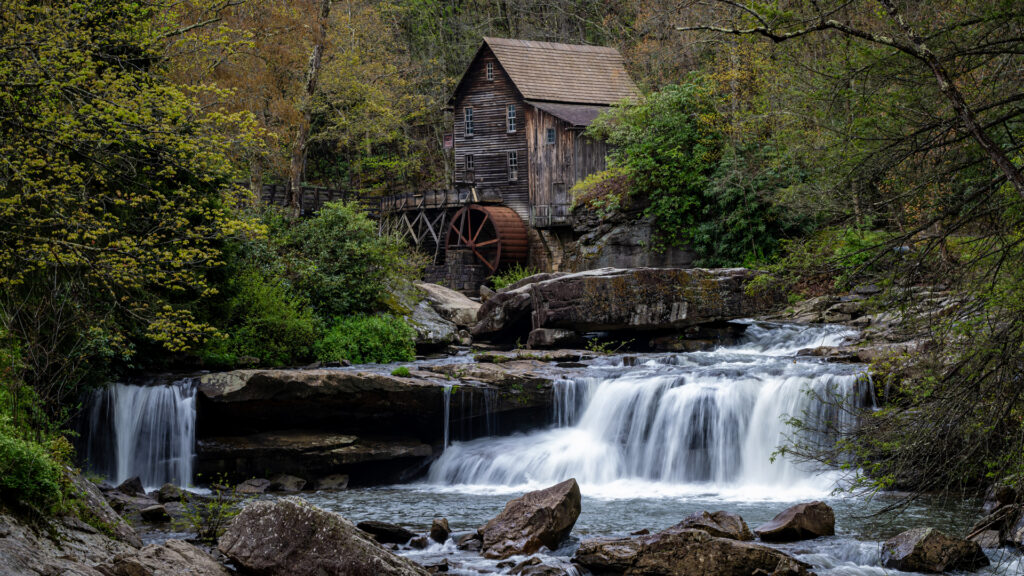
Long exposure photography is one of those techniques that makes people stop and stare at an image. When you slow down your shutter speed, everyday scenes turn into something surreal – water turns silky, clouds stretch across the sky, and city streets reveal light trails that look like glowing ribbons. In this guide, we’ll walk through how long exposure photography works, the gear you’ll need, and the simple steps you can follow to create these dreamy images yourself. By the time you’re done, you’ll know exactly how to shoot long exposure photos no matter what camera you’re using.
What Is Long Exposure Photography?
Long exposure photography means using a slow shutter speed – usually anything from one second to several minutes – to show motion in your scene. Instead of freezing a moment in time, you’re letting your camera collect light across a longer period. That’s how water turns smooth and clouds turn streaky.
Why It Works
When your shutter stays open longer, your camera records everything that moves as a blur. Anything that stays still – rocks, trees, buildings – stays sharp. That contrast between sharp and soft is what gives long exposure photography its signature look.
Common Long Exposure Subjects
- Waterfalls and rivers
- Oceans, waves, and shorelines
- Cloud movement during sunrise or sunset
- Car light trails in cities
- Night sky and star trails
- Ferris wheels and amusement rides
If you’ve ever wondered how photographers get those silky waterfall shots, this is the technique behind it.
The Gear You Need for Long Exposure Photography
You don’t need much to get started, but a few key pieces of gear make this process easier and give you more control.
1. A Tripod
This is non-negotiable. When your shutter is open for several seconds, any vibration will ruin the image. A stable tripod keeps everything locked in place.
Affiliate opportunity:
- Manfrotto Befree Aluminum Tripod
- ULANZI Zero Y Carbon Fiber Travel Tripod
- Neewer 77” Aluminum Tripod
2. ND Filters (Neutral Density Filters)
These are like sunglasses for your camera. They block light so you can use slower shutter speeds even in bright daylight. Without ND filters, you’ll be stuck using fast shutter speeds because your image would otherwise be too bright.

Common ND filter strengths:
- ND2 – 1 stop
- ND8 – 3 stops
- ND64 – 6 stops
- ND1000 – 10 stops
Good options to get:
Make sure to choose the right size for your lens.
3. A Remote Shutter or Self-Timer
Even pressing the shutter button can shake the camera. Using a remote, or even your camera’s built-in 2-second timer, keeps the shot stable.
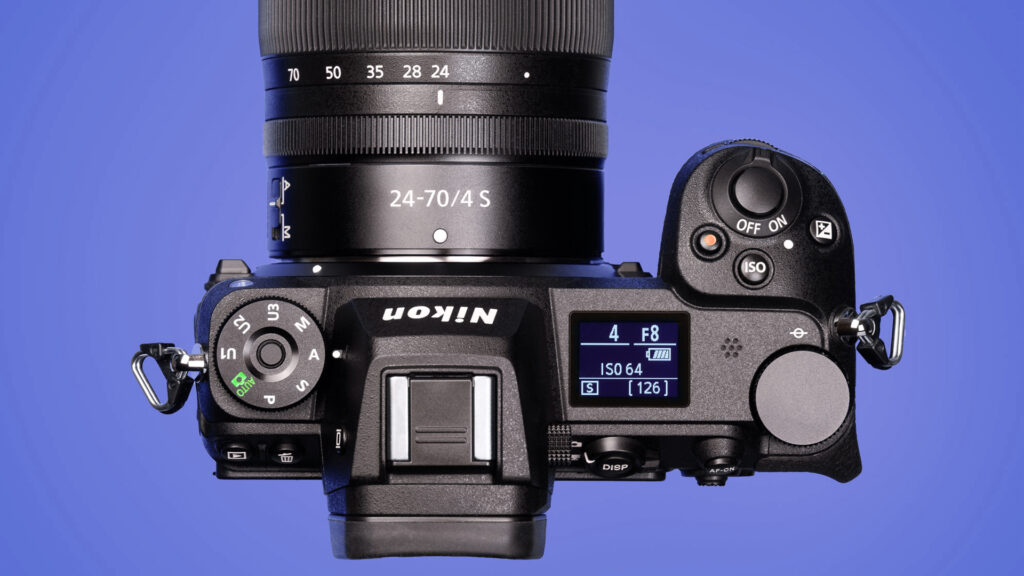
4. A Mirrorless or DSLR Camera
Any camera with manual mode will work. You don’t need anything fancy. As long as it allows manual shutter speed control, you can shoot long exposure images.
How to Shoot Long Exposure Photos
Let’s walk through the process step-by-step. I’ll explain it in a way that feels natural and easy to follow so you can try it the moment you’re out in the field.
Step 1: Set Up Your Composition
Find a scene with a mix of moving and still elements. Water next to rocks is a classic example. Frame your shot before you add the ND filter, because once the filter is on, the scene can get too dark to see clearly through the viewfinder.
Step 2: Switch to Manual Mode
Manual mode gives you control over shutter speed, aperture, and ISO.
- ISO: Keep this as low as possible (ISO 100)
- Aperture: Start around f/8 to f/11
- Shutter speed: This is your creative control. Start with 1 to 5 seconds.
Step 3: Add Your ND Filter
If it’s bright outside, you will need at least an ND8 or ND64 during the daytime. If it’s early morning or late evening, you may be able to shoot without a filter or with something lighter.
Step 4: Choose Your Shutter Speed
This is where long exposure photography becomes fun. Different shutter speeds create different looks:

- 1–2 seconds: Slight blur in water
- 5–10 seconds: Smooth water
- 15–30 seconds: Very soft, silky movement
- 1 minute or more: Clouds streak across the sky, waves turn into mist
Step 5: Take the Shot Using a Remote or Timer
Even tiny vibrations matter. A 2-second timer works fine if you don’t have a remote shutter.
Step 6: Review and Adjust
If the image is:
- Too bright – use a stronger ND filter or faster shutter speed
- Too dark – increase ISO slightly (only if needed) or widen aperture
- Not smooth enough – increase the shutter time
- Too smooth (lost texture) – decrease shutter time
Real-World Examples
If you’re photographing a waterfall at noon, even at ISO 100 and f/11, the scene might still be too bright for a long exposure. That’s when an ND64 or ND1000 is a lifesaver.
If you’re shooting clouds at sunset, a 30 second shutter will often give you nice stretching in the sky without washing out colors.
One thing I’ve learned from shooting Michigan rivers is that small changes in exposure make a big difference in how smooth the water looks. Don’t hesitate to try several shutter speeds while you’re there. It’s worth taking a few extra shots to get the look you want.
Common Mistakes and How to Avoid Them
1. Camera Shake
Even with a tripod, wind can create vibration. Add weight to the tripod or lower its height for more stability.
2. Overexposure
This happens a lot when you’re new. If your shutter is too slow and your filter isn’t strong enough, the entire image blows out. A 10-stop ND filter solves this.
3. Forgetting to Turn Off Stabilization
If your camera or lens has IBIS or VR, turn it off when using a tripod. Stabilization can create tiny micro-movements.
4. Not Covering the Viewfinder
Some cameras allow light to leak in through the viewfinder during long exposures. Use your viewfinder cover or your hand to block it.
5. Autofocus Problems
Always focus before adding your ND filter, then switch to manual focus so the camera doesn’t hunt in the dark.
Editing Long Exposure Photos
You don’t need much editing to make them look great. Here’s what usually helps:
- Lower highlights to recover sky detail
- Add clarity for the rocks or buildings
- Increase vibrance for color pop
- Adjust white balance for mood
If you need a workflow refresher, take a look at my full Photo Editing Workflow.
Long exposure photography opens up a creative world that most beginners skip, but it’s one of the easiest techniques once you know the basics. With a tripod, an ND filter, and a few simple settings, you can transform ordinary scenes into smooth, dreamy landscapes and motion-filled masterpieces. If you want to keep learning similar techniques, the next step is understanding how shutter speed fits into the exposure triangle – something you can explore in the link below.
If you want to dig deeper into how shutter speed fits into the bigger picture, check out my Exposure Triangle Basics guide.