One of the most common questions beginners ask is simple and frustrating: “What camera settings should I use for this?” That question usually comes when the light is changing, people are moving, and there is no time to experiment.
Instead, this guide gives you reliable starting settings for common shooting situations. These are not perfect or universal settings. They are practical presets that put you in the right range so you can focus on timing and composition instead of guessing.
If these settings feel unfamiliar, it helps to understand how aperture, shutter speed, and ISO work together in real shooting situations.
Global Baseline (Applies to All Scenarios)
Unless noted otherwise:
- Focus mode: AF-S for still subjects, AF-C for moving subjects
- Metering: Evaluative / Matrix
- White balance: Auto
- Image stabilization: On if available
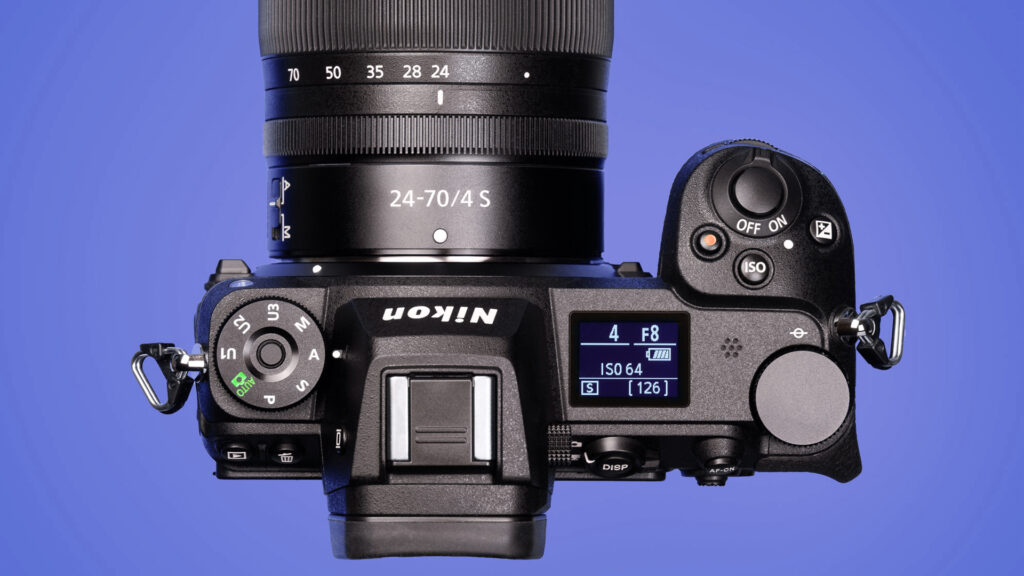
Mode dial labels:
A = Aperture Priority
S = Shutter Priority
M = Manual
(Some cameras label Aperture and Shutter Priority as Av and Tv.)
If you want a deeper explanation of how Aperture Priority works and when to use it, that mode deserves its own dedicated breakdown.
Outdoor Photography – Full Sun
| Scenario | Mode | Aperture | Shutter Speed | ISO Range | Notes |
|---|---|---|---|---|---|
| Single person portrait | A | f/2.8–f/4 | — | 100–200 | Background blur priority |
| Group of people | A | f/5.6–f/8 | — | 100–200 | Depth of field matters |
| Kids running | S | — | 1/1000 sec | 100–400 | Freeze motion |
| Daytime sports | M | f/2.8–f/4 | 1/2000 sec | Auto ISO (800 Max) | Consistent action |
Outdoor Photography – Open Shade or Overcast
| Scenario | Mode | Aperture | Shutter Speed | ISO Range | Notes |
|---|---|---|---|---|---|
| Single person | A | f/2.8–f/4 | — | 200–400 | Soft light |
| Group | A | f/5.6 | — | 400–800 | Balanced sharpness |
| Casual movement | S | — | 1/800 sec | 400–800 | Motion safety |
Outdoor Photography – Golden Hour
| Scenario | Mode | Aperture | Shutter Speed | ISO Range | Notes |
|---|---|---|---|---|---|
| Portraits | A | f/2.8 | — | 200–800 | Skin tones |
| Backlit subjects | A | f/2.8–f/4 | — | 400–800 | Watch highlights |
| Movement | S | — | 1/800 sec | Auto ISO (1600 Max) | Light fades quickly |
Indoor Photography – Bright Interiors
| Scenario | Mode | Aperture | Shutter Speed | ISO Range | Notes |
|---|---|---|---|---|---|
| Single person | A | f/2.8 | — | Auto ISO (1600 Max) | Handheld safe |
| Group | A | f/4–f/5.6 | — | Auto ISO (3200 Max) | Depth of field |
| Light movement | S | — | 1/500 sec | Auto ISO (3200 Max) | Motion priority |
Indoor Photography – Dim Light
| Scenario | Mode | Aperture | Shutter Speed | ISO Range | Notes |
|---|---|---|---|---|---|
| Still subjects | A | f/1.8–f/2.8 | — | Auto ISO (6400 Max) | Noise acceptable |
| Walking subjects | S | — | 1/320 sec | Auto ISO (6400 Max) | Blur risk |
| Candids | A | f/1.8 | — | Auto ISO (6400 Max) | Shutter must stay up |
Indoor Sports – Dim Gyms
| Scenario | Mode | Aperture | Shutter Speed | ISO Range | Notes |
|---|---|---|---|---|---|
| Basketball | M | f/2.8 | 1/1000 sec | Auto ISO (6400 Max) | Freeze action |
| Volleyball | M | f/2.8 | 1/1000 sec | Auto ISO (6400 Max) | Fast direction changes |
| Wrestling | M | f/2.8 | 1/640 sec | Auto ISO (6400 Max) | Slightly slower acceptable |
Night Photography – Outdoor Artificial Light
| Scenario | Mode | Aperture | Shutter Speed | ISO Range | Notes |
|---|---|---|---|---|---|
| Standing subjects | A | f/2 | — | Auto ISO (6400 Max) | Color casts |
| Walking subjects | S | — | 1/250 sec | Auto ISO (6400 Max) | Motion priority |
| Street candids | A | f/1.8 | — | Auto ISO (6400 Max) | Grain acceptable |
How to Use This Guide
- First, identify the lighting in the scene
- Next, choose the closest matching scenario
- Then set the mode shown on the dial
- After that, set the value you control (aperture or shutter)
- Finally, let the camera handle the rest
These settings are meant to put you in the right range quickly. Once you see the result, adjust one variable at a time and watch what changes.
Final Thoughts
Learning photography is easier when you start with settings that make sense for the light in front of you. Ultimately, this guide is about confidence and consistency, not perfection. Use it as a foundation, then build understanding from real results.