When I first started submitting to Adobe Stock and Alamy, I quickly realized that camera settings for stock photography matter just as much as creativity. Turns out, technical perfection matters just as much. Reviewers are trained to reject photos with soft focus, blown highlights, or digital noise — even if they look great on your monitor.
In this post, I’ll share the exact camera settings that have helped me reduce rejections and create consistently sellable stock images. Whether you’re shooting landscapes, architecture, or wildlife, these are the settings that make your photos stand out. These are the same techniques I use in my Exposure Triangle guide to balance light, sharpness, and detail.
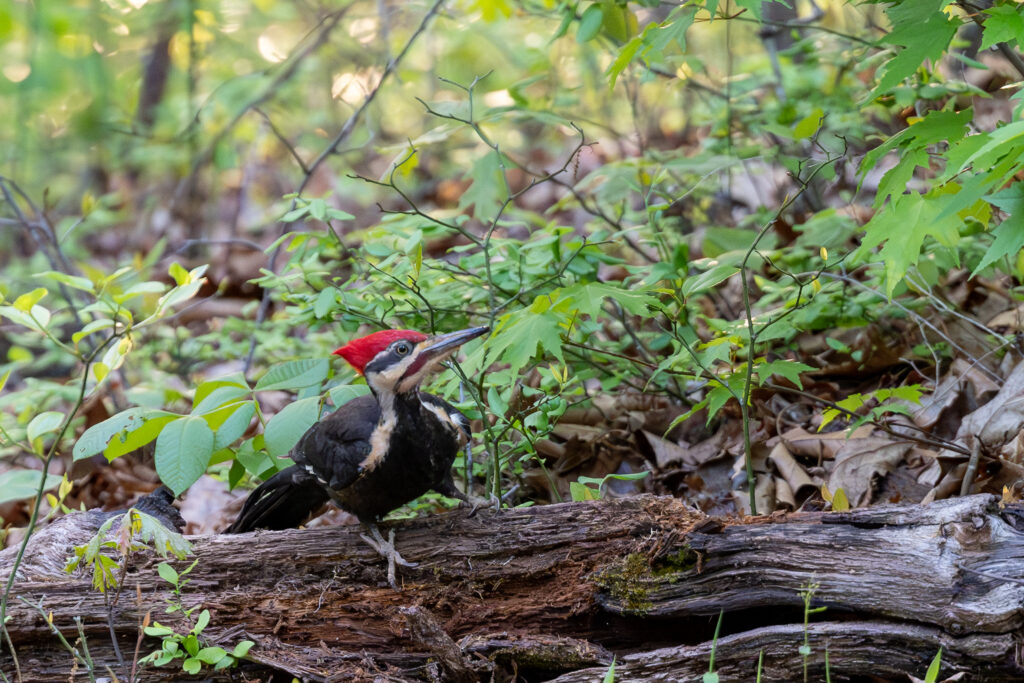
Related: Best Telephoto Lenses for Wildlife Photography (2025 Guide)
1. Shoot in RAW for Maximum Flexibility
Always shoot in RAW. RAW files preserve far more detail than JPEGs, giving you full control over exposure, color, and white balance in post-processing.
Both Adobe Stock and Alamy check images for exposure accuracy and color consistency. RAW ensures you can make clean corrections without image degradation.
Recommended gear: ProGrade CFexpress Card or SanDisk Extreme Pro SD Card — fast cards reduce buffer lag when shooting in RAW. For more on lens choices that make the most of RAW image detail, read my Best Telephoto Lenses for Wildlife Photography (2025 Guide).
2. Use the Lowest ISO Possible
Digital noise is one of the top reasons stock agencies reject images. Whenever possible, keep your ISO at 100–400.
If you’re shooting indoors, use a tripod instead of boosting ISO.
Tip: Enable your camera’s Long Exposure NR (noise reduction) for night shots or long exposures.
3. Aperture: Keep It Sharp
For general stock work, sharpness is key.
- Landscapes: f/8 to f/11
- Architecture: f/5.6 to f/8
- Close-ups: f/4 to f/5.6 for subject isolation
Avoid going above f/13 — diffraction can soften details.
Recommended gear: K&F Concept Tripod for tack-sharp results.
4. Shutter Speed: Balance Sharpness and Motion
A good rule of thumb: use a shutter speed faster than your focal length.
If shooting at 200mm, stay above 1/200s. For wildlife or handheld shots, bump it to 1/500s–1/1000s.
Use a 2-second timer or a remote shutter to eliminate camera shake when mounted on a tripod.
5. White Balance and Color Accuracy
While Auto White Balance is convenient, it can shift tones between frames. For consistency, set your white balance manually or use a Daylight preset outdoors.
This ensures your colors remain natural — something reviewers notice immediately.
6. Focus Mode and AF Points
Use Single-Point AF for static subjects like buildings or products.
Switch to Continuous AF (AF-C) for moving subjects such as wildlife or vehicles.
If you’re using manual lenses, enable focus peaking (if available) for precision.
7. Avoid Clipping Highlights and Shadows
Turn on your camera’s histogram or highlight alert (“blinkies”).
It’s better to slightly underexpose and lift shadows later than to blow out highlights — lost highlights can’t be recovered, and reviewers often check this closely.
8. Keep Your Framing Clean
Avoid distractions like brand logos, signage, or cropped objects near the frame edge.
Stock buyers prefer clean compositions that can be cropped for multiple uses.
When in doubt, step back slightly and leave extra space for clients to crop.
9. Use a Neutral Picture Style or Flat Profile
If your camera allows, select a Flat or Neutral picture profile. This keeps contrast and saturation low, preserving maximum detail for editing.
Remember, the goal isn’t to create a finished JPEG in-camera — it’s to deliver a clean, editable file.
10. Final Tip: Consistency Builds Sales
Shoot in batches under similar light and tone. This not only helps your portfolio look cohesive, but stock platforms also tend to favor consistent contributors in search results.
Upload regularly, stay consistent, and your approval rate — and earnings — will both rise.
(Coming soon: How I Make Passive Income Selling Photos Online)
Closing Thoughts
Stock photography rewards technical precision. Nail your exposure, white balance, and focus every time, and you’ll quickly see fewer rejections and more downloads.
If you’re just starting out, experiment with these settings, keep a record of what works best for your gear, and refine as you go. If you’re ready to move beyond technical settings, my Exposure Triangle post explains how aperture, shutter speed, and ISO work together to create perfectly balanced images.