If you’ve ever opened Lightroom and felt lost in a sea of photos, you’re not alone. A consistent photo editing workflow is what turns chaos into creativity. In this post, we’ll walk through each step—from importing your images and organizing them efficiently, to editing, exporting, and keeping your files backed up along the way. Once you have a system that works, editing becomes a breeze instead of a chore.
Step 1: Import and Organize Your Photos

The first step in any photo editing workflow is importing and organizing your files. It might not sound exciting, but this step saves you hours later. Start by using a consistent folder structure on your hard drive or NAS. I like using a format such as 2025-11-09_Snowfall_CharlotteMI — it keeps everything chronological and descriptive.
When importing, create a dedicated catalog in Lightroom or a session in Capture One for each project. Add basic keywords during import and make sure your files are backed up immediately. If you’re storing photos on an external drive or NAS, double-check that everything is copied before you start editing.
For a deeper look at how to safely store your media, check out Photo and Video Storage Solutions.
Step 2: Culling and Rating Efficiently
Once your photos are imported, it’s time to separate the keepers from the clutter. Culling is one of those tasks that feels endless—until you use a simple rating system. I usually flag potential keepers, rate favorites with stars, and color-code anything worth a second look.
If you want speed, tools like Photo Mechanic or FastRawViewer can drastically cut down on review time. The key is not to overthink every shot. Pick the ones that tell the story best.
I used to keep hundreds of near-identical shots from a single session. Eventually I realized that extra clutter only slowed down my editing. A quick first pass helps you focus on quality instead of quantity.
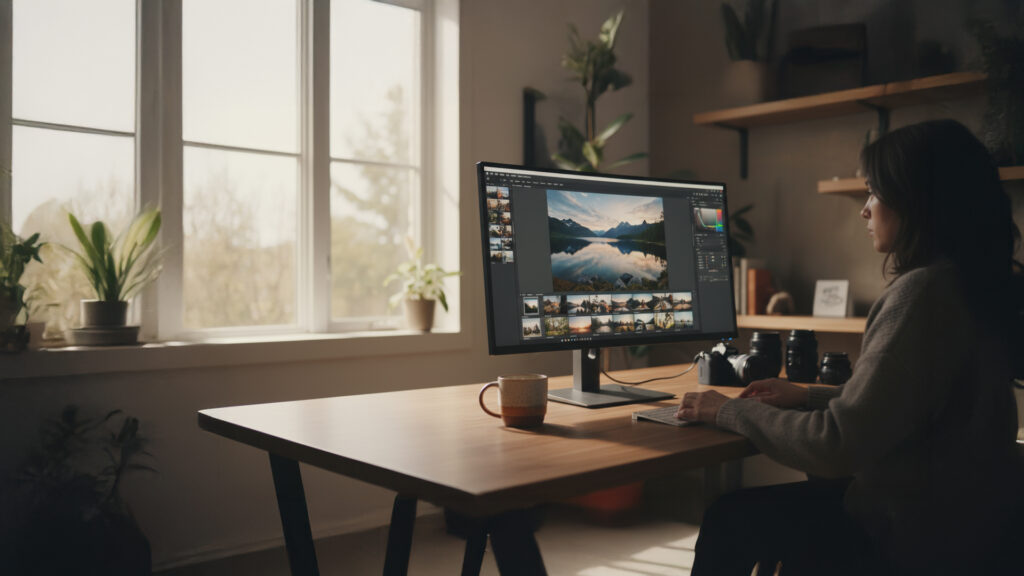
Step 3: Editing for Consistency and Style
Now comes the creative part—editing. Start with global adjustments in Lightroom: exposure, white balance, contrast, and crop. These corrections form the base for everything else. Once you’ve dialed in your look, you can sync those settings across similar photos to save time.
Next, move into local adjustments such as the brush, radial, or linear gradient tools. These allow you to enhance specific areas like skies, faces, or foregrounds. If you use Photoshop, reserve it for detailed retouching or compositing work. Lightroom is ideal for color and tone adjustments across batches of photos.
For more on getting the best results from your RAW files, revisit Shooting in RAW.
Step 4: Exporting and File Management
When your edits are complete, exporting properly ensures your photos look great wherever they’re displayed. Choose your file format based on use:
- JPEG for web or social media (72 DPI, sRGB color space).
- TIFF or high-quality JPEG for printing (300 DPI, Adobe RGB).
Name your exports clearly, such as Snowfall_CharlotteMI_Final.jpg, and include copyright metadata so your work stays protected.
Lightroom lets you create export presets for web, print, and portfolio outputs—saving time and ensuring consistency.
For reference, Adobe offers an excellent guide on export settings: How to Export Photos from Lightroom Classic.
Tips to Streamline Your Workflow
A little preparation can make a big difference. Try these ideas to keep things running smoothly:
- Create and save custom import and export presets.
- Use a consistent folder structure and naming convention.
- Regularly back up catalogs and edited files to an external drive or NAS.
- Delete or archive rejected photos to free up space.
- Keep your editing software updated for performance improvements.
Once you have these habits in place, your editing process becomes faster and more reliable.
Building a solid photo editing workflow doesn’t just save time—it helps you stay creative. When importing, organizing, and exporting become second nature, you can focus more on what really matters: bringing your photos to life. Stick with a process that works for you and refine it as your style evolves.
For more workflow and storage tips, explore related guides like Shooting in RAW and Photo and Video Storage Solutions.