
Selling your photos online has never been easier. Adobe Stock has become one of the leading platforms for photographers in 2025, giving creators a simple way to earn passive income from their images. Whether you shoot landscapes, architecture, wildlife, or lifestyle scenes, Adobe Stock makes it possible to reach millions of potential buyers worldwide. With no upfront costs and a straightforward contributor process, it’s one of the best ways to start turning your photography hobby into real income.
Step 1: Create an Adobe Stock Contributor Account
If you’ve ever wondered how to sell photos on Adobe Stock, 2025 is the perfect year to start. Adobe Stock is one of the easiest platforms for photographers to turn their hobby into passive income.
To sign up, you’ll need to:
- Be at least 18 years old
- Provide a valid email address
- Upload a government-issued photo ID for verification
- Connect a PayPal or Skrill account so Adobe can send your earnings once you reach the $25 payout threshold
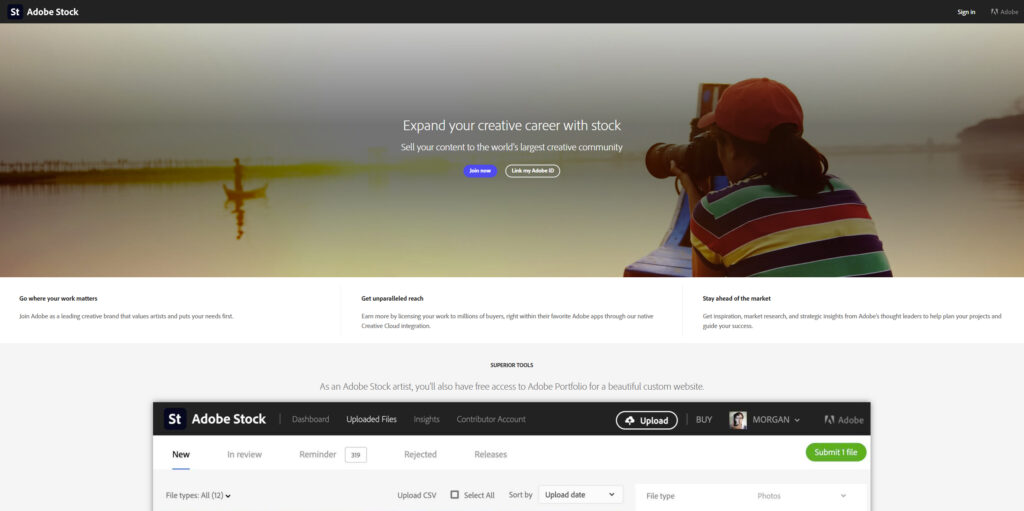
Once your account is verified, you’ll be able to upload images, videos, vectors, or illustrations right from your browser. Adobe Stock provides an easy-to-use dashboard that tracks your submissions, approvals, and sales in one place.
Step 2: Understand What Sells in 2025
Before you start uploading, it’s important to know what buyers are actually looking for. In 2025, demand on Adobe Stock is driven by a mix of timeless subjects and trending themes.
Some of the most in-demand categories include:
- Business and Technology – remote work setups, AI themes, and digital devices
- Diverse Lifestyle Images – people of different ages, backgrounds, and cultures in everyday situations
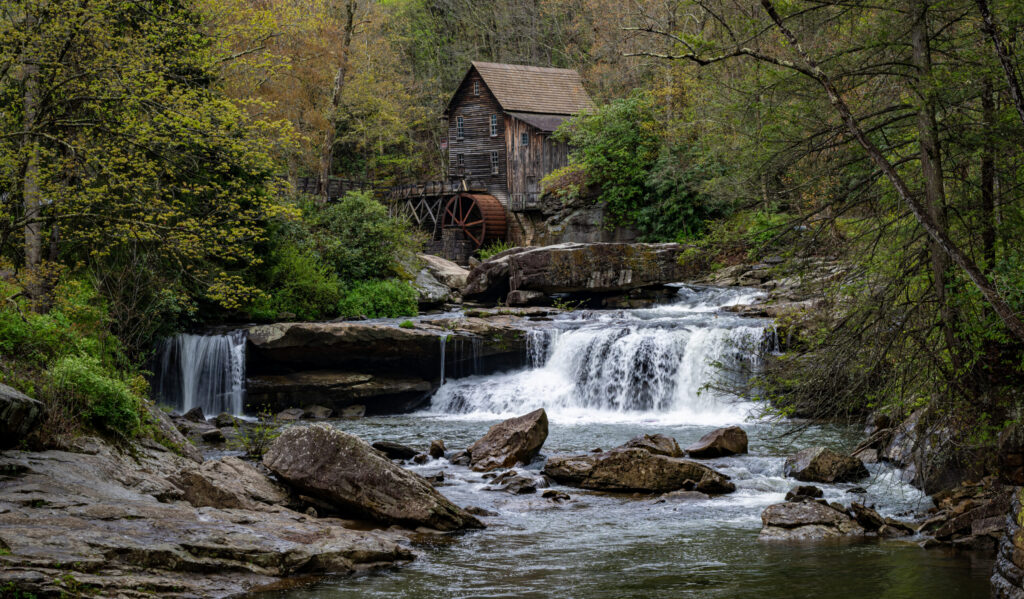
- Travel and Landscapes – dramatic natural scenes, drone photography, and iconic destinations
- Architecture and Infrastructure – clean shots of buildings, courthouses, and cityscapes
- Seasonal and Topical Content – holidays, local events, and timely social issues
Commercial vs. Editorial licensing
- Commercial images can be used in advertising and marketing. Photos of landscapes, buildings without logos, or products you’ve created yourself usually fall in this category.
- Editorial images are for news, commentary, or educational use. If your photo shows people without model releases, logos, or trademarked designs, it should be uploaded as editorial.
By paying attention to what sells and uploading content that meets these needs, you’ll give yourself the best chance of consistent downloads and income.
Step 3: Upload Your Best Work
Once your contributor account is approved, you can start uploading images to Adobe Stock. The process is straightforward, but quality matters. Adobe reviewers look for clean, professional files that meet technical standards.
Basic upload requirements:
- File type: JPEG (.jpg)
- Minimum size: 4 megapixels (most modern cameras easily exceed this)
- Maximum size: 45 megapixels per image
- Color profile: sRGB (for consistent online display)
Tips for better acceptance rates:
- Submit only your sharpest, best-edited photos
- Avoid heavy noise or grain, especially in low-light shots
- Make sure horizons are straight and compositions are clean
- Don’t oversaturate colors or apply extreme filters
- Watch for intellectual property issues (no visible brand logos, trademarks, or copyrighted artwork)
You can also upload videos, vectors, and illustrations if you create them. Adobe accepts MP4 for video and AI/EPS for vector files, giving you multiple ways to expand your portfolio.
Uploading consistently — even just a few images every week — helps your portfolio stay active and increases your chances of discovery in Adobe Stock’s search results.
Step 4: Add Titles, Keywords, and Categories
Once your photos are uploaded, the next step is adding metadata so buyers can actually find them. This is where many new contributors slip up — good titles and keywords make the difference between a photo that gets buried and one that sells.
Titles
Keep them short, clear, and descriptive. For example:
- Good: “Autumn Maple Tree with Bright Red Leaves”
- Bad: “Beautiful tree photo in fall season with leaves turning red in Michigan park”
Keywords
Adobe Stock allows up to 49 keywords for editorial photos and 95 keywords for commercial photos. But not all keywords carry the same weight — the first 5 are the most important, so make sure they’re your strongest and most relevant.
- Think like a buyer: what words would someone type if they needed your exact photo?
- Avoid repetition and irrelevant keywords (Adobe may reject for keyword spamming).
- Place the most specific, descriptive words first.
Categories
You’ll also select one category from Adobe’s official list (e.g., Buildings and Architecture, Landscapes, People). This helps Adobe place your photo correctly in their library.
Getting your titles, keywords, and categories right from the start ensures your photos surface in search results — which directly impacts your sales.
Step 5: Submit for Review
After you’ve uploaded your photos and added the titles, keywords, and categories, the final step is to send them in for review. Every file on Adobe Stock is checked by a reviewer to make sure it meets quality standards and doesn’t violate copyright or intellectual property rules.
What to expect during review:
- Adobe states that reviews usually take 1–3 business days, but in practice they can take much longer. Many files are reviewed within a week, but during busy periods some contributors have reported waiting several weeks — even up to 8 weeks in rare cases.
- If your image is accepted, it becomes immediately available for sale in the Adobe Stock marketplace.
- If your image is rejected, Adobe will include a short reason so you know what to fix.
Common rejection reasons:
Submitting regularly helps your portfolio grow and gives buyers more chances to discover your work. Even if some files get rejected, use the feedback to improve future submissions and refine your portfolio.
- Technical issues – noise, artifacts, focus problems, over/underexposure
- Intellectual property concerns – logos, brand names, or copyrighted designs in the frame. If this happens, you can often resubmit the same photo under “Editorial Use Only” instead of discarding it. A better option, though, is to edit out trademarks or logos before uploading. Tools like Adobe Photoshop and Lightroom make this process simple — you can try Adobe here.
- Similar images – too many near-duplicates of the same subject
- Incorrect or irrelevant keywords – spamming or mislabeling metadata
- Quality standards – overly edited, unnatural colors, or distracting compositions
Step 6: Track Your Sales & Earnings
Once your photos are live, the fun part begins — tracking sales. Adobe Stock gives you a contributor dashboard where you can see every download, royalty earned, and your overall portfolio performance.
Earnings:
- Royalties vary depending on the type of buyer (subscription vs on-demand purchase).
- Most photos earn between $0.33 and a few dollars per download, but higher-value licenses (like extended or enhanced licenses) can bring in much more.
- Payments are sent once you reach the $25 minimum payout through PayPal or Skrill.
Sales tracking tools:
- The dashboard shows which files are selling and how often.
- Use this data to spot trends — for example, if your courthouse photos sell more after local news coverage, you’ll know to upload similar content.
- Consistency is key. Even small, steady uploads help keep your portfolio active in search.
Think of Adobe Stock as a long game. A few sales a week may not sound like much at first, but over months and years, downloads add up. Many contributors build portfolios that earn steady passive income without constant daily effort.
Bonus: Tools to Boost Your Earnings
Once you’ve mastered the basics of uploading and keywording, the next step is making your portfolio stand out. Using the right tools can help you create higher-quality images and expand the variety of photos you can offer.
Editing Software
Clean, professional edits are critical for acceptance and sales. Programs like Adobe Photoshop and Lightroom make it easy to remove dust spots, fix exposure, or edit out logos and trademarks that could otherwise cause rejections. You can check out the latest Adobe Creative Cloud plans here.
Essential Gear for Stock Photography
- ND Filters & Polarizers – Great for landscapes and water scenes, reducing glare and allowing long exposures. See options on Amazon
- Tripods – Keep your shots sharp, especially for night photography or long exposures. Browse tripods.
- Telephoto Lenses – Telephoto Lenses – Essential for wildlife and distant subjects. Options include the Sigma 150-600mm f/5-6.3 DG OS HSM Contemporary for Nikon, Sony FE 200-600mm F5.6-6.3 G OSS, and Canon RF 100-500mm f/4.5-7.1L IS USM
- Camera Bags – Protect your gear and stay organized while traveling. Check out Peak Design camera bags.
Want to know what I personally use? Take a look at the gear I use here.
Staying Ahead of Trends
Keep an eye on seasonal events, holidays, and newsworthy topics. Uploading fresh content when demand is highest gives you a much better chance of landing downloads.
By combining strong editing tools with the right gear, you’ll not only improve your acceptance rate but also make your portfolio more appealing to buyers.
When you’re ready to create your own website, take a look at my guide on How to Build a Photography Website.